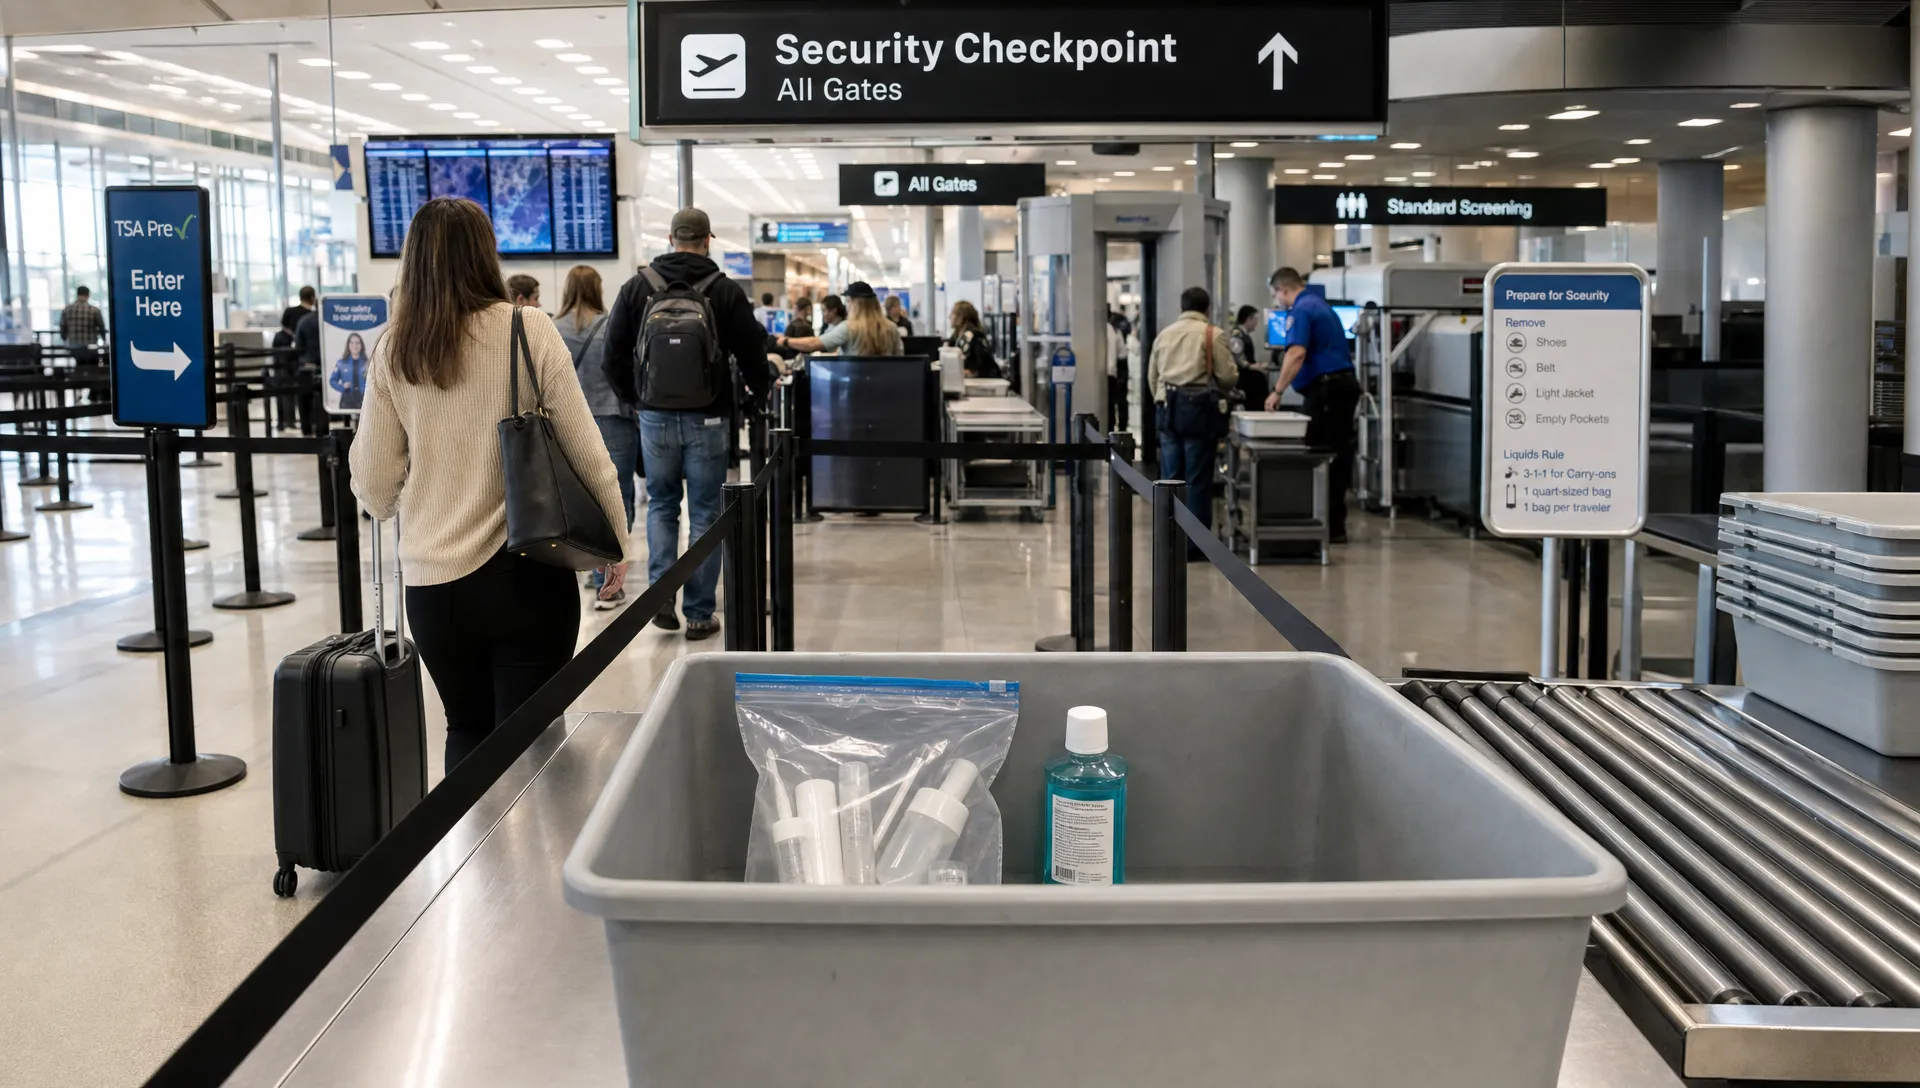
Packing liquids is easy until one bottle is too large, one airport uses different screening equipment or your return flight applies a stricter rule than your departure airport. This step-by-step guide explains how to prepare liquids going through airport security so you can pack confidently, move through the checkpoint smoothly and avoid losing toiletries, food or duty-free purchases at the tray table.
The safest approach is to plan for the strictest checkpoint on your full route, not just the airport where your trip begins. Some airports have newer scanners and some rules are changing, but many checkpoints still apply the familiar 100 ml or 3.4 oz limit for cabin liquids. If you are not completely sure, assume the stricter rule.
Before liquids going through airport security: confirm the rule for every flight
Start with the actual airports on your itinerary, including layovers and the return flight. Liquid rules are not always identical across countries, terminals or transfer checkpoints. A route that starts at a relaxed airport can still include a connection where your cabin bag is screened again under the 100 ml rule.
For US screening, the TSA explains the 3-1-1 rule as containers of 3.4 oz or 100 ml or less, packed in one quart-size bag. The TSA liquids rule also notes that larger quantities may be allowed for certain medical or infant needs when declared. In the UK, official hand luggage restrictions still tell passengers to prepare small containers in a single transparent resealable bag unless airport instructions say otherwise.
For a quick route check, use Liquid Limits before you pack. It helps compare airport, item and route rules with last-checked dates and source links, then defaults to the stricter 100 ml rule when a rule is unclear.
Step 1: Separate what security treats as a liquid
Security screening does not only mean water, shampoo and perfume. Gels, creams, pastes, sprays, foams, lotions and some soft foods are often treated like liquids because they can be poured, spread, squeezed or aerosolized.
Before you open your suitcase, place all questionable items together on a counter. Include toiletries, cosmetics, sunscreen, hair products, contact lens solution, liquid supplements, jams, nut butters, sauces, yogurt and similar foods. If it smears or flows, treat it as a cabin liquid until you verify otherwise.
This first sort prevents the most common mistake with liquids going through airport security: packing an oversized item in a side pocket because it does not look like a drink. If you are unsure about a specific product, Liquid Limits has a deeper guide to liquid limits for common airport items.
Step 2: Decide what goes in cabin baggage, checked baggage or after-security shopping
Once you know what counts, decide where each item belongs. Your goal is not to squeeze everything into a small plastic bag. Your goal is to keep only the items you truly need during the journey in your cabin bag.
| Item type | Best packing choice | Why it works |
|---|---|---|
| Daily toiletries in small bottles | Cabin bag if 100 ml or less | Easy to use during short trips or layovers |
| Full-size shampoo, sunscreen or lotion | Checked bag | Avoids cabin liquid limits and tray delays |
| Prescription liquid medicine | Cabin bag, declared if required | Keeps essential medication with you |
| Baby milk, formula or toddler food | Cabin bag, declared if required | Usually handled as an exception, subject to screening |
| Drinks and large sauces | Checked bag or buy after security | Reduces confiscation risk at the checkpoint |
| Duty-free liquids | Sealed security bag with receipt | May be accepted if packed correctly, especially on connections |
For most travelers, liquids going through airport security should fall into three groups: essential cabin liquids, nonessential checked liquids and items better purchased after screening. This simple split is faster than debating every bottle on travel day.
Step 3: Pack the liquids bag so it can be inspected quickly
Use travel-size containers that clearly show volume, preferably 100 ml or 3.4 oz or less. A half-empty 200 ml bottle can still be rejected because the container size is too large, even if only a small amount remains inside.
Place your small containers in a clear resealable bag if your airport requires one. In many 100 ml rule locations, the bag must close fully. Do not overpack it, since bulging bags attract attention and slow down manual checks. If a cap leaks, place that item in a separate small sealable pouch inside your liquids bag to protect clothing.
Keep the bag near the top of your personal item or carry-on. If the checkpoint asks passengers to remove liquids, you should be able to reach it without unpacking electronics, clothing and travel documents. Travelers who want a broader routine can use this pre-screening liquids checklist to reduce last-minute repacking.
The best packing habit for liquids going through airport security is visibility. Officers and scanning systems can process your bag more easily when containers are small, grouped and accessible.
Step 4: At the checkpoint, follow the local tray instructions
Airport security lanes do not all work the same way. Some still require passengers to remove the liquids bag from cabin baggage. Others, especially lanes with newer CT scanners, may ask you to leave liquids inside your bag. Follow the signs and the officer's instructions at that airport, even if your previous airport did something different.
If you need to remove liquids, place the clear bag flat in a tray where it can be seen. Keep oversized exempt items, such as declared medicine or baby formula, separate enough to mention them before screening. Do not bury them under coats or electronics.
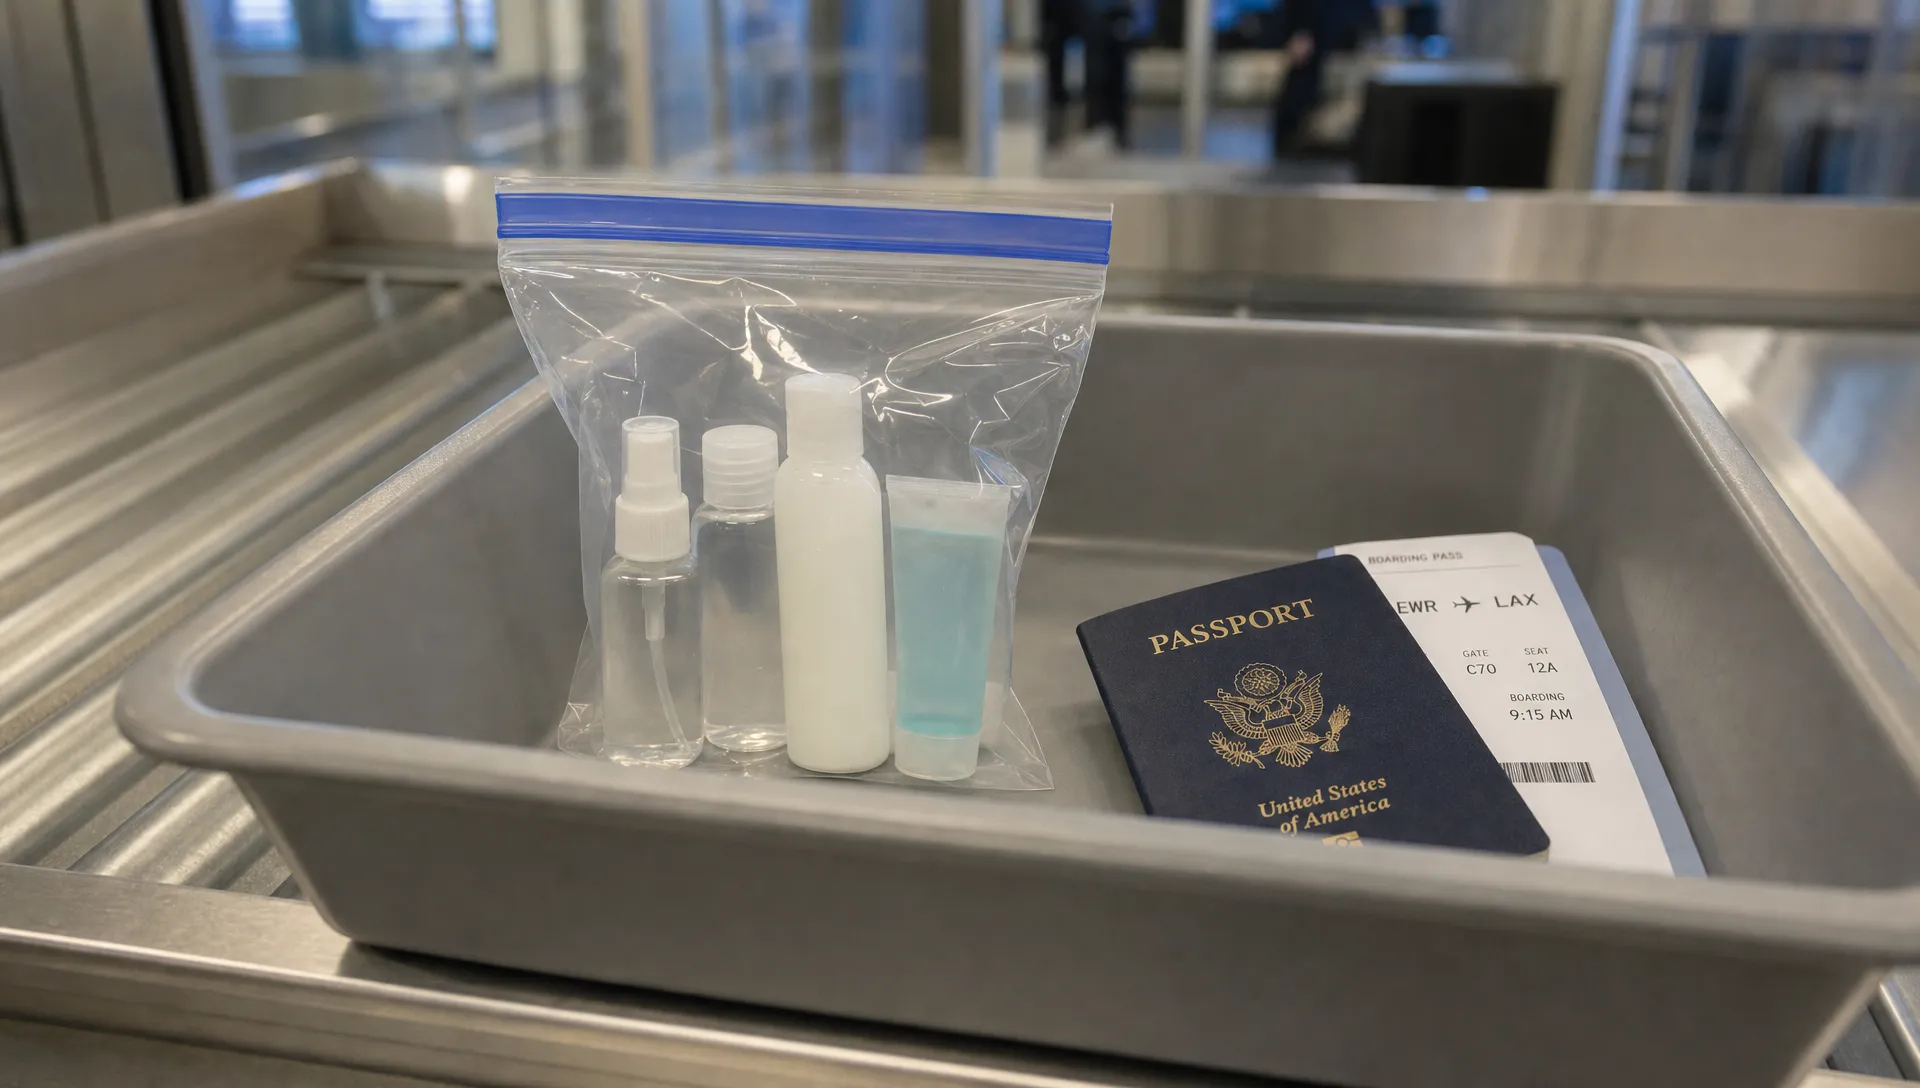
A calm, prepared handoff matters. If an officer asks whose bag contains a liquid item, answer directly and explain what it is. If the item is not allowed, you may be offered the choice to discard it, return to check it if time and airport layout allow or transfer it to someone not traveling.
Step 5: Handle medicine, baby items and special diets separately
Medical and infant-related liquids are often exceptions to ordinary cabin liquid limits, but exceptions do not mean no screening. Keep them easy to access and declare them when required. Do not put essential medicine in checked baggage if you may need it during the flight, during delays or immediately after landing.
The TSA says medically necessary liquids, gels and aerosols can be brought in reasonable quantities and should be declared to officers for inspection. Other countries may use different wording or processes, so check your departure and transfer airports before travel.
For baby milk, formula, breast milk, toddler drinks and baby food, bring only what is reasonable for the journey. Security may inspect containers, test the outside or ask you to open an item. If a child has a medical or dietary need, carry clear documentation where appropriate.
These categories are where liquids going through airport security can feel confusing because the rule is not simply small bottle equals yes, large bottle equals no. The purpose of the item, quantity and local screening process all matter.
Step 6: Be careful with duty-free liquids and connecting flights
Duty-free alcohol, perfume and cosmetics can be legal at one airport and still cause trouble at the next screening point. The risk is highest when you buy a large liquid after security, then connect through another airport where you must clear security again.
In many international settings, duty-free liquids are expected to remain sealed in a security tamper-evident bag with proof of purchase. Do not open the bag before your final security checkpoint. Keep the receipt visible inside the sealed bag and avoid packing it deep in your carry-on if you will transfer.
If your connection involves entering a country, changing terminals or collecting and rechecking baggage, assume your duty-free purchase may face a second inspection. When in doubt, ask the duty-free staff about your specific connection before buying. They may know whether the airport can seal the item for transfer, but your final decision should still be based on the rules for your whole route.
Step 7: Recheck rules before the return flight
Many travelers plan the outbound airport carefully and forget the return. That is where confiscations happen: a sunscreen bought at the beach, a bottle of local olive oil, a jar of honey or a full-size cosmetic packed into a cabin bag for the flight home.
Before returning, repeat the same process. Check your departure airport, any connection airport and your arrival country's transfer rules if you have another domestic leg. If you bought large liquids during the trip, move them to checked baggage if allowed by airline and customs rules. Wrap breakable bottles well and protect them from pressure leaks.
For round trips, liquids going through airport security should be checked against the stricter direction of travel. Liquid Limits is built for this exact problem because it compares airport and route restrictions side by side, including return flights and source links.
If you want more detail on planning both directions, use the Liquid Limits guide to travel liquid guidelines for airports and return trips.
Quick checkpoint flow for travel day
Use this flow before you leave for the airport and again if you have a connection with rescreening.
- Check the strictest liquid rule on your route.
- Move full-size nonessential liquids to checked baggage.
- Keep essential 100 ml or 3.4 oz containers together in a clear bag if required.
- Separate medicine, baby items and special diet liquids.
- Keep duty-free liquids sealed with the receipt.
- Follow the signs at the lane, since some airports remove liquids and others do not.
This routine works because it matches how screening actually happens. Officers are not only checking whether you packed a bottle. They are checking size, category, accessibility, exemptions and whether your item fits the airport's current process.
Frequently Asked Questions
Can I bring a half-full 200 ml bottle through airport security? Usually no under the 100 ml rule. Security normally checks the container size, not the amount left inside. Transfer the product to a 100 ml or smaller container or pack it in checked baggage.
Do I always have to remove my liquids bag at security? Not always. Some airports with newer scanners may let you keep liquids inside your bag, but many checkpoints still require removal. Follow local signs and officer instructions at the lane.
Are creams, gels and pastes counted as liquids? Yes, they often are. Toothpaste, gel deodorant, mascara, sunscreen, hair gel, lotion, spreads and soft foods can be treated as liquid or liquid-like items for screening.
What is the safest rule for liquids going through airport security on an international trip? Pack cabin liquids in containers of 100 ml or 3.4 oz or less unless every airport on your route clearly allows more. For unclear rules, use the stricter limit.
Check before you pack
Liquid rules can change by airport, route and item type, so the best time to check is before everything is zipped into your bag. Use Liquid Limits to look up airport liquid rules, compare round-trip restrictions and verify item-specific guidance with source links and last-checked dates. A two-minute check can save your toiletries, your duty-free purchase and your place in the security line.